Image Metric Tile with Target
INSIA allows you to create an Image Metric Tile with Target, combining performance values, targets, and visuals in a single tile. This makes KPIs more intuitive, branded, and presentation-ready.
Last updated February 11, 2026
Step-by-Step Guide
Step 1: Create the Chart
Use the Search bar to enter:
Function: Sales
Region: East
INSIA displays the relevant chart types.
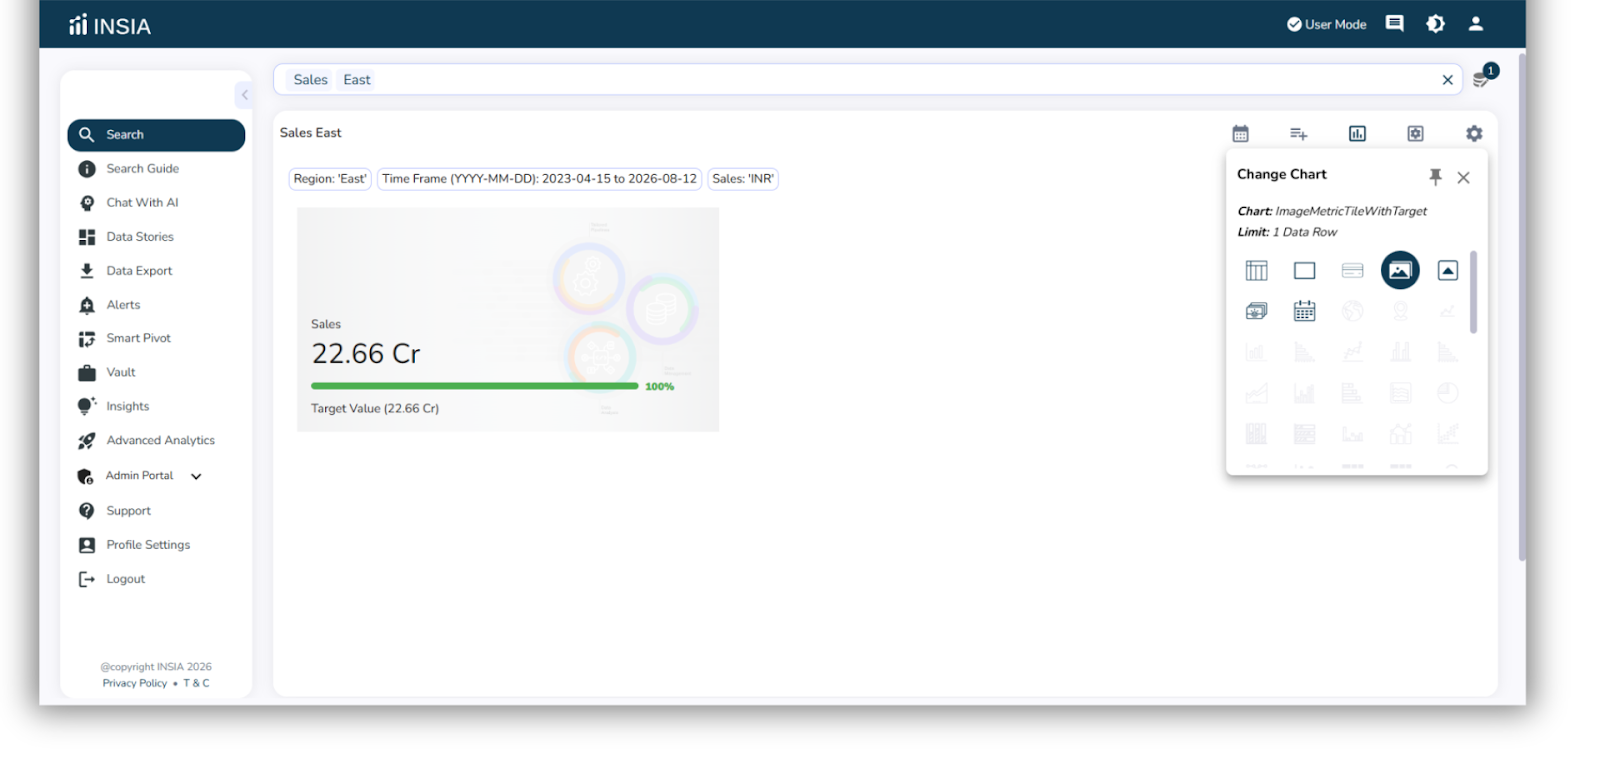
Step 2: Select Image Metric Tile with Target
From the chart options, select Image Metric Tile with Target.
The chart is created instantly.
Step 3: Open Chart Settings
Click Chart Settings on the chart.
Navigate to Style Settings.
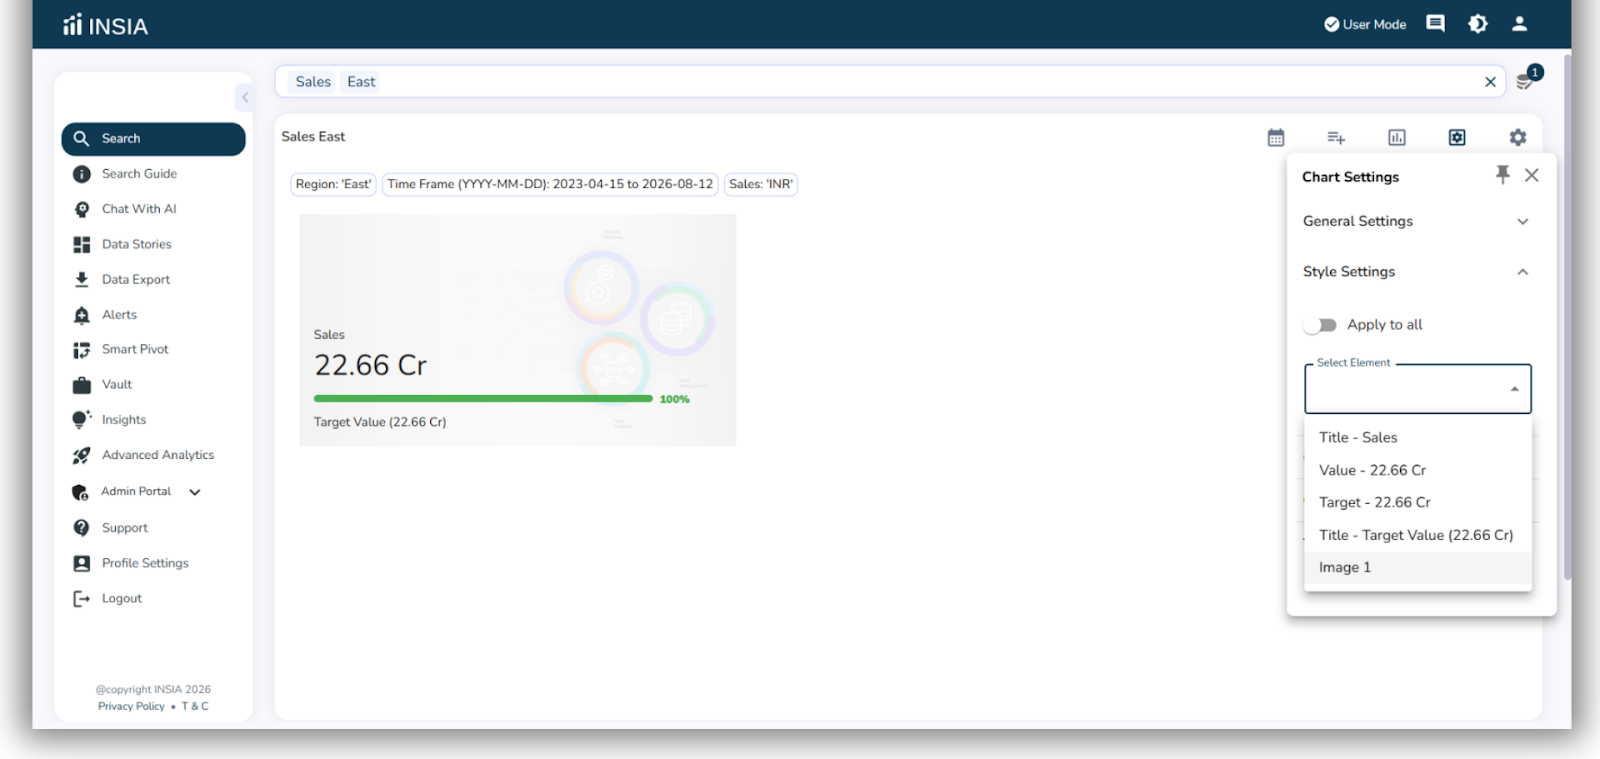
Step 4: Upload an Image
In Style Settings, select Element.
Choose Image.
Click to upload an image from your system.
You can upload:
Company logo
Brand icon
Any custom image aligned with your reporting needs
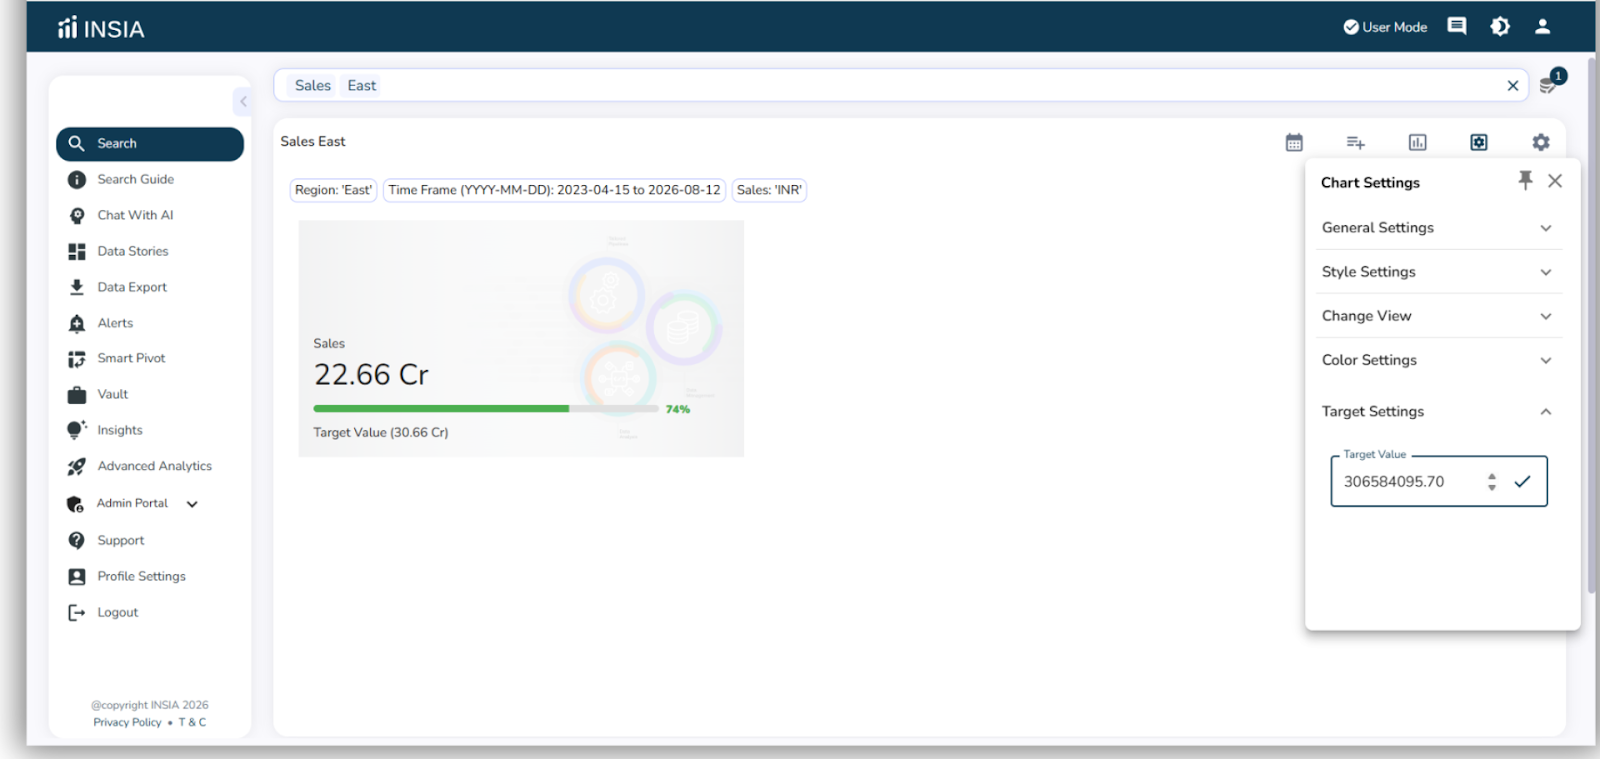
Step 5: Set the Target
In Chart Settings, open Target Settings.
Enter the target value for the metric.
Save the target.
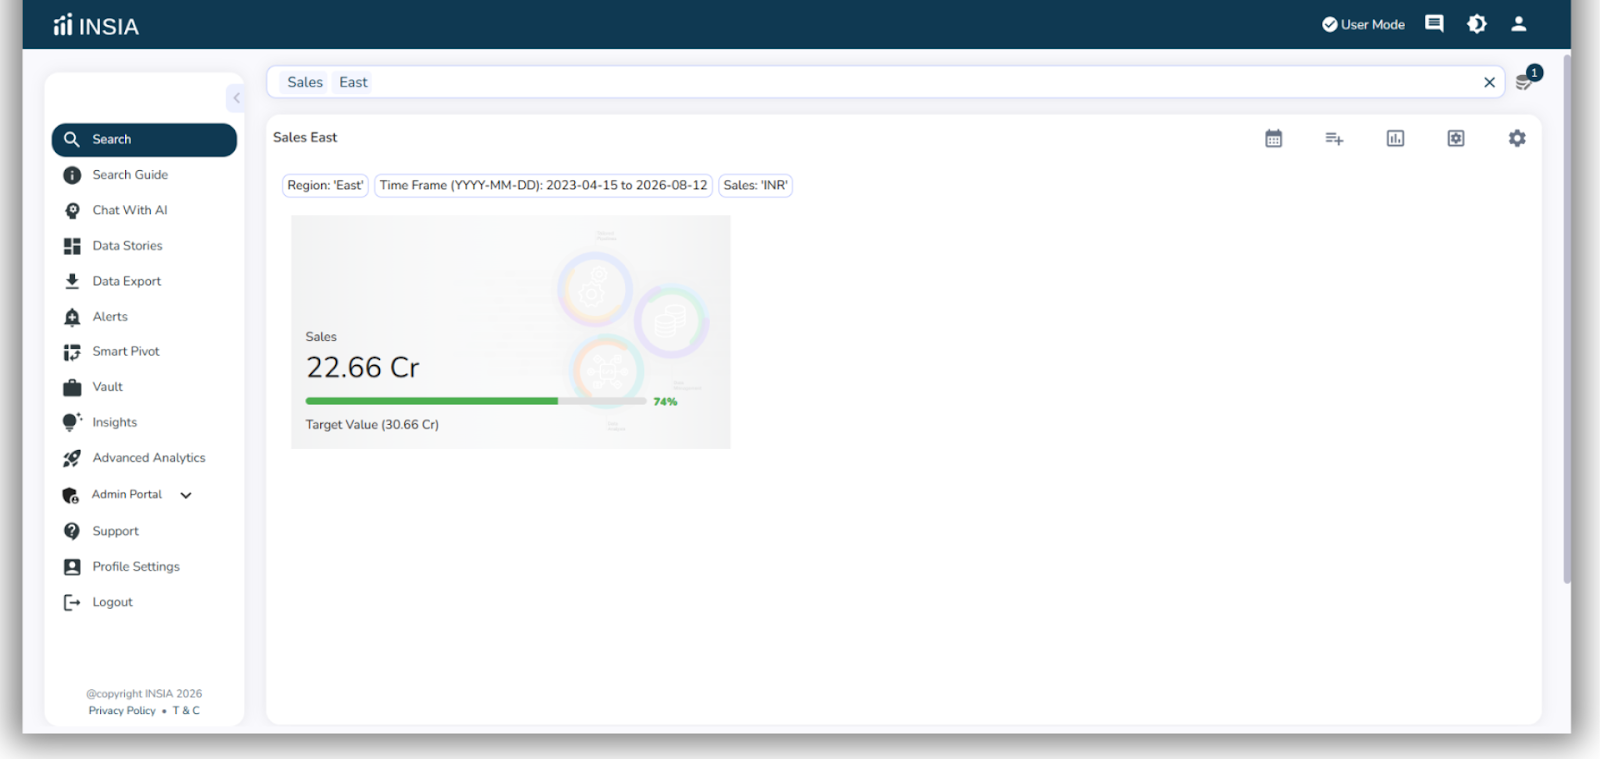
Step 6: Save and View
The tile now displays:
Metric value
Target value
Uploaded image
Your Image Metric Tile with Target is ready for use.
Best Practices
Always set a target to track performance clearly
Use logos or icons to align dashboards with branding
Keep visuals minimal for better readability
Result
You now have a branded Image Metric Tile with Target that clearly shows performance against goals at a glance.
Learn how to add an Image Metric Tile with Target in minutes